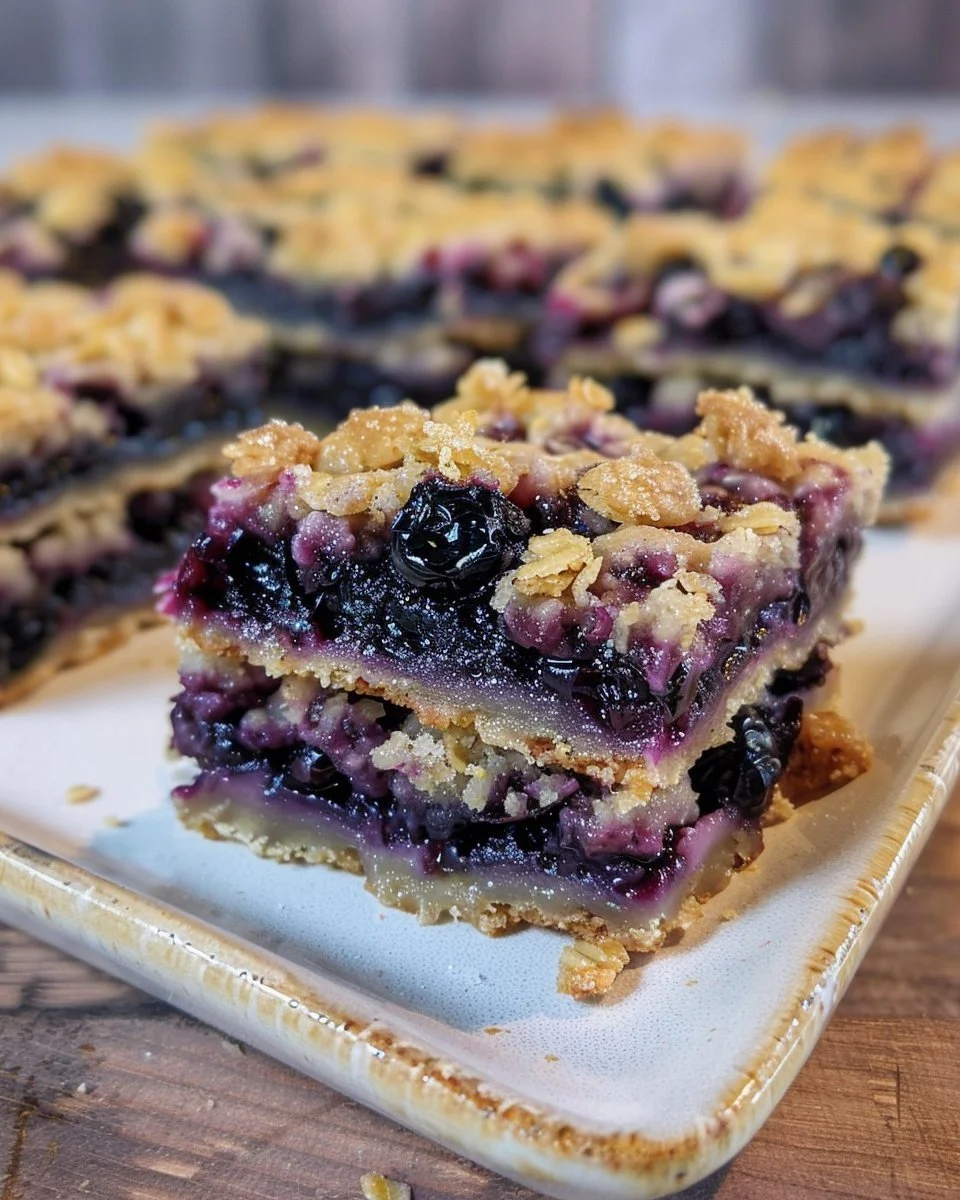
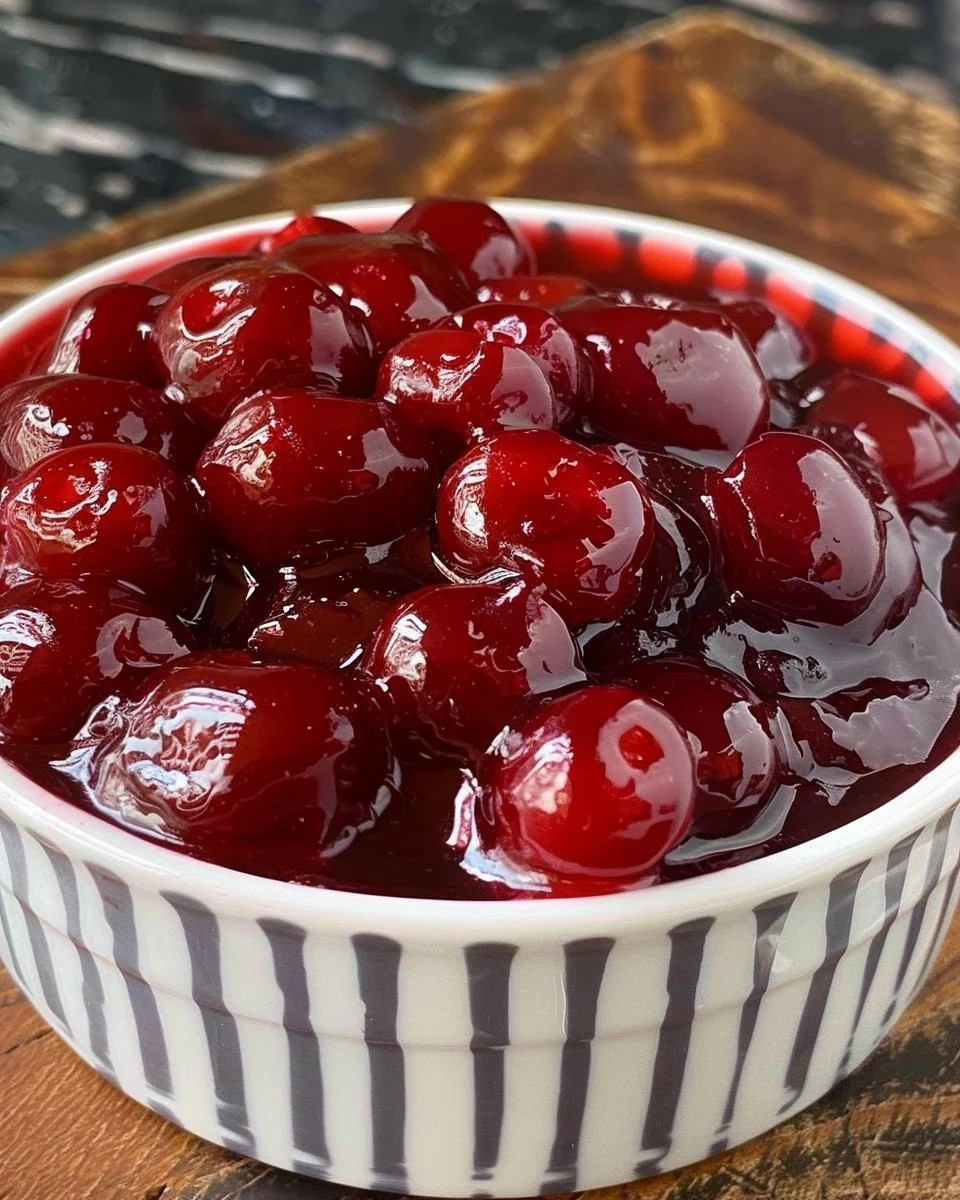
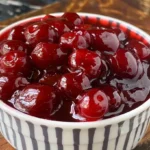
Cherry Pie Filling: A Sweet and Tangy Delight
Cherry pie filling is a classic that captures the essence of summertime, perfect for filling pies, pastries, or even serving over ice cream. This recipe highlights the vibrant flavor of fresh or frozen cherries, balanced with just the right amount of sweetness and a subtle tang from lemon juice. The filling is thick yet luscious, creating a delightful contrast with your favorite dessert bases. With its enticing aroma filling your kitchen, this cherry pie filling is ideal for family gatherings, holidays, or just an indulgent treat at home. Whether you’re making a homemade cherry pie or simply enjoying it straight from the jar, this recipe will surely please any cherry lover.
Ingredients
- ¼ cup cornstarch: This thickening agent helps give the filling its perfect consistency.
- ⅔ cup sugar: Sweetens the cherries while balancing their tartness.
- 4 cups fresh or frozen cherries: The star ingredient, offering rich flavor and vibrant color.
- ½ cup water: Combines with the cherries and cornstarch to create the filling’s texture.
- 1 tablespoon fresh lemon juice: Adds brightness and a subtle tang to enhance the cherry flavor.
Step-by-Step Instructions
Mix Dry Ingredients: In a medium saucepan, combine the cornstarch and sugar. Stir until they are well mixed and smooth.
Combine With Liquid: Pour in the water, followed by the cherries and lemon juice. Mix everything together until well combined.
Cook Over Heat: Place the saucepan over medium heat and bring the mixture to a gentle boil, stirring frequently.
Simmer to Thicken: Once boiling, reduce the heat and let it simmer for about 2 to 4 minutes. Stir often until the filling thickens to your desired consistency.
Cool Down: Once thickened, remove the saucepan from heat and let the cherry filling cool.
Store Your Filling: Transfer the filling to a storage container. It can be stored in the refrigerator for up to a week.
Recipe Details
- Prep Time: 10 minutes
- Cook Time: 10 minutes
- Total Time: 20 minutes
- Servings: Makes about 4 cups of filling
- Calories: Approximately 195 calories per ½ cup serving
Tips, Storage & Variations
Storage: Store in an airtight container in the refrigerator for up to one week. You can freeze the filling for longer storage. Just make sure to let it cool completely before transferring to a freezer-safe container. It can last for up to 3 months in the freezer.
Flavor Variations: Consider adding a pinch of cinnamon or almond extract for an extra layer of flavor. Freshly grated ginger can also provide a unique twist.
{image_1}
FAQ Section
1. Can I use frozen cherries for this recipe?
Yes, frozen cherries work perfectly; just ensure they are thawed and drained before using.
2. How can I thicken the filling if it’s too runny?
Simmer it a bit longer while stirring until it reaches your desired thickness.
3. Can I make this filling ahead of time?
Absolutely! It can be made a week in advance and stored in the refrigerator.
4. What desserts can I use this filling for?
This cherry pie filling is great for pies, cheesecakes, and as a topping for ice cream or pancakes.
5. Is it possible to reduce the sugar?
Yes, you can reduce the sugar to suit your taste, but this may alter the overall sweetness and flavor balance.
6. How long does this filling last in the freezer?
In the freezer, this cherry pie filling can last for up to 3 months if stored properly.
People Also Ask (PAA) Expansion
1. How do I use cherry pie filling in desserts?
Cherry pie filling can be used in pies, tarts, and as a dessert topping for cakes and ice cream.
2. Is cherry pie filling gluten-free?
Yes, this filling is gluten-free, provided you ensure the cornstarch does not contain gluten.
3. Can I add other fruits to this filling?
Yes, you can mix in berries or apples for a different flavor profile.
4. What kind of cherries are best for cherry pie filling?
Bing cherries and tart cherries are the most commonly used for cherry pie filling.
5. How do I make my cherry pie filling less tart?
Adding more sugar or using sweeter varieties of cherries can help in reducing tartness.
6. Can I use canned cherries instead of fresh or frozen?
Yes, just be sure to drain them well before using them in this recipe.
Conclusion
This cherry pie filling recipe captures the tart and sweet flavors that make cherry desserts so beloved. It’s perfect for various occasions, and once you try it, you’ll find it hard to go back to store-bought versions. For more creative ideas, check out this homemade cherry pie filling recipe and consider other delicious toppings like those listed on Eat Dessert Snack. Enjoy making your own cherry creations, and be sure to share your results!
PrintCherry Pie Filling
A sweet and tangy cherry pie filling perfect for pies, pastries, or serving over ice cream.
- Prep Time: 10 minutes
- Cook Time: 10 minutes
- Total Time: 20 minutes
- Yield: 4 cups of filling 1x
- Category: Dessert
- Method: Cooking
- Cuisine: American
- Diet: Vegetarian
Ingredients
- ¼ cup cornstarch
- ½ cup sugar
- 4 cups fresh or frozen cherries
- ½ cup water
- 1 tablespoon fresh lemon juice
Instructions
- Mix the cornstarch and sugar in a medium saucepan until smooth.
- Combine water, cherries, and lemon juice; mix well.
- Cook over medium heat, bringing to a gentle boil while stirring frequently.
- Simmer for 2 to 4 minutes until thickened to desired consistency.
- Cool the cherry filling after removing from heat.
- Store in a container; refrigerate for up to a week.
Notes
Can be stored in an airtight container in the refrigerator for up to a week, or frozen for up to 3 months.
Nutrition
- Serving Size: ½ cup
- Calories: 195
- Sugar: 25g
- Sodium: 5mg
- Fat: 0g
- Saturated Fat: 0g
- Unsaturated Fat: 0g
- Trans Fat: 0g
- Carbohydrates: 48g
- Fiber: 2g
- Protein: 1g
- Cholesterol: 0mg
Keywords: cherry pie filling, dessert, sweet filling, homemade, summer recipe